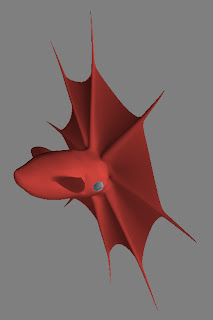
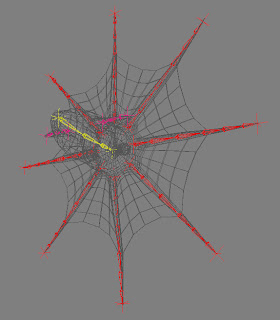
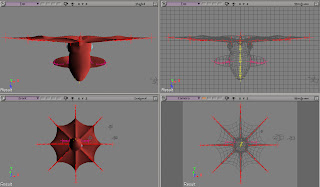
Scooter render 2
Slimer Work in progress shots 1
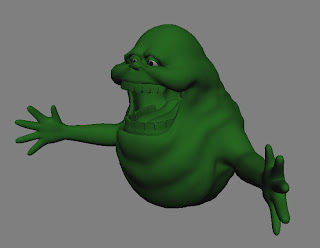
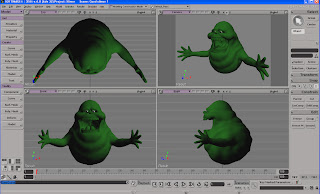
This post will show some of the work in progress shots from a character I started in Z-brush a few months back. It's "Slimer" from the ghost buster’s the movie and series. If you don't know the character that well, he is a ghost that eats like a black hole and slimes on everybody. Currently the detail is allot further along within z-brush; I will make a post now so that you can see it in comparison later.
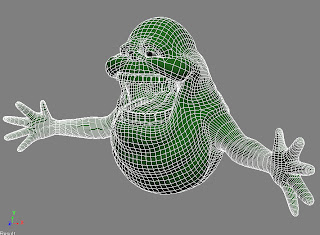
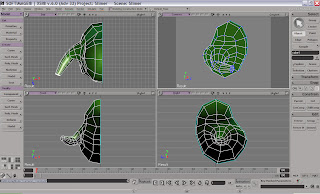
I will be focusing on the arms, hands, teeth and rolls of the body. My computer is not keeping up very well with the added geometry and subdivisions. I am in at least double the division count now focusing on major details of the hands first.
The characters arms have been replaced once to better allow for flow in the 3D anatomy of the face. The eyes are placeholders until animated spheres are added later; I created this character because I am fond of the style and would like to build a small animation loop of this character hovering for a 3D rotation.
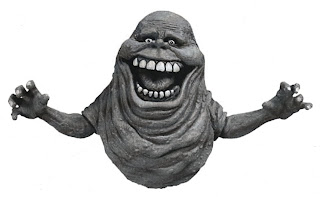 I started with this reference shot from a toy off the internet.
Wrecker bot in Pose
Hello,
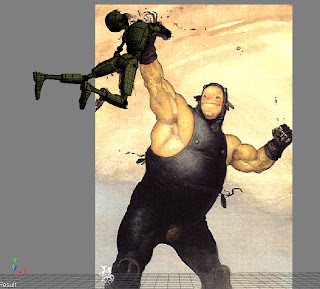
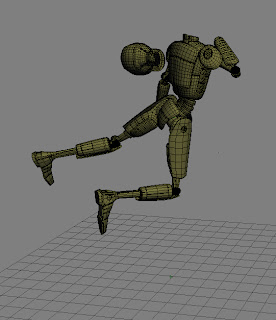
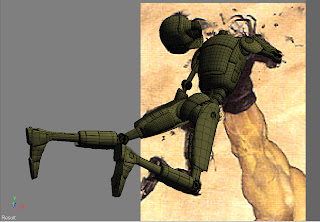
This is the newest step for the robot. I have put the entire bot character into pose within scene. I have checked the proportions to be certain before I went forward. I had extended the length of the leg from the drawing so that had to be adjusted back. The width of the inside upper legs and the arm width had to go wider on the inside too. These images will not show the latest refinements because they are on the model outside this scene. I have done many refinements to the characters head neck and shoulders. I will import the newer models and update the same shot continuously, when the unwraps are in progress we can see them updated off the painted Uv stamp/PSD instantly with each save.
The main character is in z-brush now, when that process in getting further along I will show work in progress shots. I am now going to un wrap the bot characters body and create lines running around the back of the head before un wrap it.
Wrecker refined block model
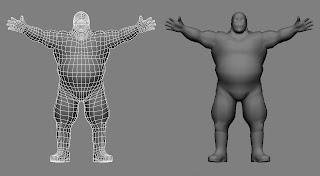
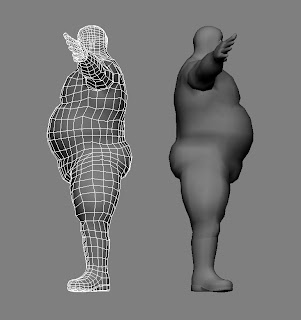
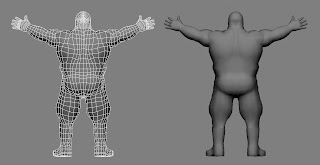
I have gone over the character again and better defined the face, all the muscles in the arms and the waist around the belt. I have put the back on the characters head and defined all the geometry and flow around the upper shoulders lower neck. The hands are better formed and I thickened the fingers. I also clean up a bunch of geometry to all latter features. I will next go in Z brush 3 and start better refining some shapes!!!
Wrecker Block model
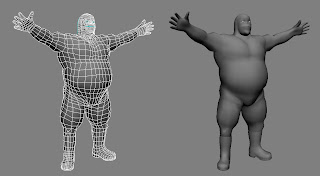
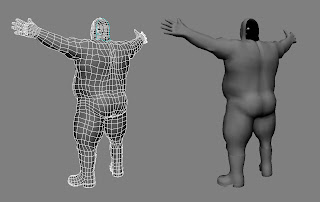
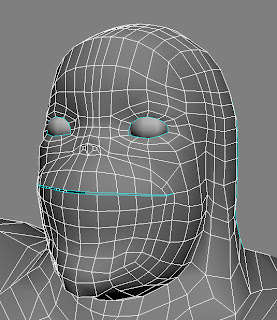
This is my block model work in progress for now. I tried to focus on the flow of the suite over and across the muscles as well as the flow of the wrinkles and fold verses the loops of the muscles. I plan on having all major aspects of this character by afternoon Saturday.
I will refine the character in z brush before I attempt to construct Knee pads, belt, ears and ear covers, small horns, buttons. The gloves and suite barrier lines will be defined also at a later time.
Wrecker Robot Block Model
sketch part 2
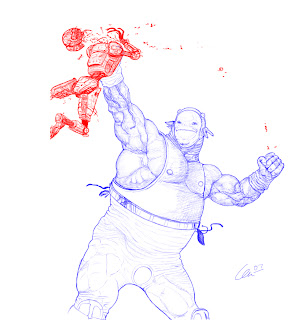
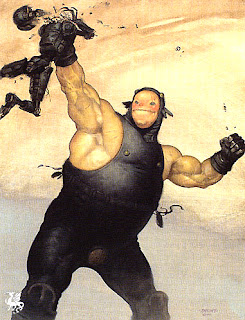
I have extracted some of the darker elements of the painting so I could see what was there more clearly. I sketched the main character so that I can follow all the flowing parts and have an absolute reference for details. It was staining to say the least, I have yet to bring the up the bottom half. I will be able to fill in all the areas now that are not on the painting. I plan on moving back to the character sheets tomorrow and gathering photos for reference material on the hands and pose.
Front profile sketch
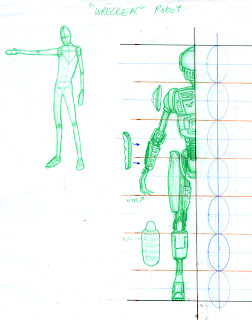
This is my quick rough attempt at defining the front of this robot that is not seen in the actual painting. I will use this to create all the basic construction in proper proportions and then work back and forth with the original to get the exact surfaces. The most difficult part will be getting all the limbs to translated into position with the existing camera angle and still be correct in 3D space as it rotates.
robot sketch
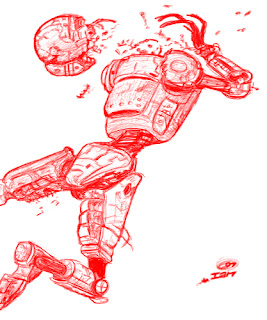
I was tying to roughly define boundary elements of the robot to more accurately create a sketched rotation. The painting is dark so it was very important that I better understand the visual break down of the underlying structure before attempting any modeling. This character is in a funny perspective and a very dynamic pose so there will be many added difficulties in positioning him correctly in a 3D environment.
Brom Wrecker
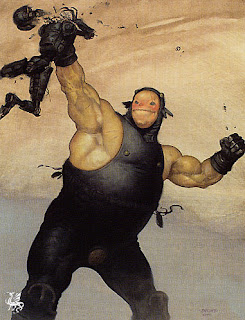
My newest 3D modeling challenge for my upcoming demo reel. I wanted something with a lot of depth and refinement to create a fully rotational 3D model for digital display. This is an original Brom painting from 1996. It was tucked away in a lower corner of one of his painting books called Darkworks originally published in 1997. In my eyes, Brom’s paintings push the envelope as far as I would like when it comes to brush strokes. I am drawn to paintings that are roughly refined. I feel that the blotted color expresses better than over blending and absolute beauty. I always feel the characters are so well conceptualized, sketched and painted. That is why his work was an obvious choice for my own 3D practice. These models will be re-created in multiple sketched poses and then constructed and developed in 3D. Refining the digital sculpting in z-brush and accurate digitally painted textures interests me the most on this particular piece.
Infomescial from last semester
This is a video Justin and I made last semester in compositing class.
Vampire squid part 5
